

In the wetlands surrounding their crannog, an Irish woman stashed her last firkin of bog butter, not to be rediscovered for centuries. The cool waters of the bog helped to preserve the butter or tallow, however, there are alternate theories such as this storage method being used to impart a certain, flavor in the butter or that it was a ritual offering after a time of dairy abundance (Rafferty, 35-37). While the majority of bog butter has been found in turned wood casks, most written accounts mention butter was also found stored in barkwood or even animal hides (Smythe, et al. 8). Through radiocarbon dating, these findings have been dated from 1700 BC to the 17th c. AD. and ranging in sizes from 1 pound to over 50. (Smythe, 1-2) While also being used for the family, butter during the early middle ages could have been used to pay rent and was required, in some cases, in established hospitality practices (O’Sullivan, 223, 229).

Bog Butter from Galway 960-1040 AD (Smythe, et. al. 2)


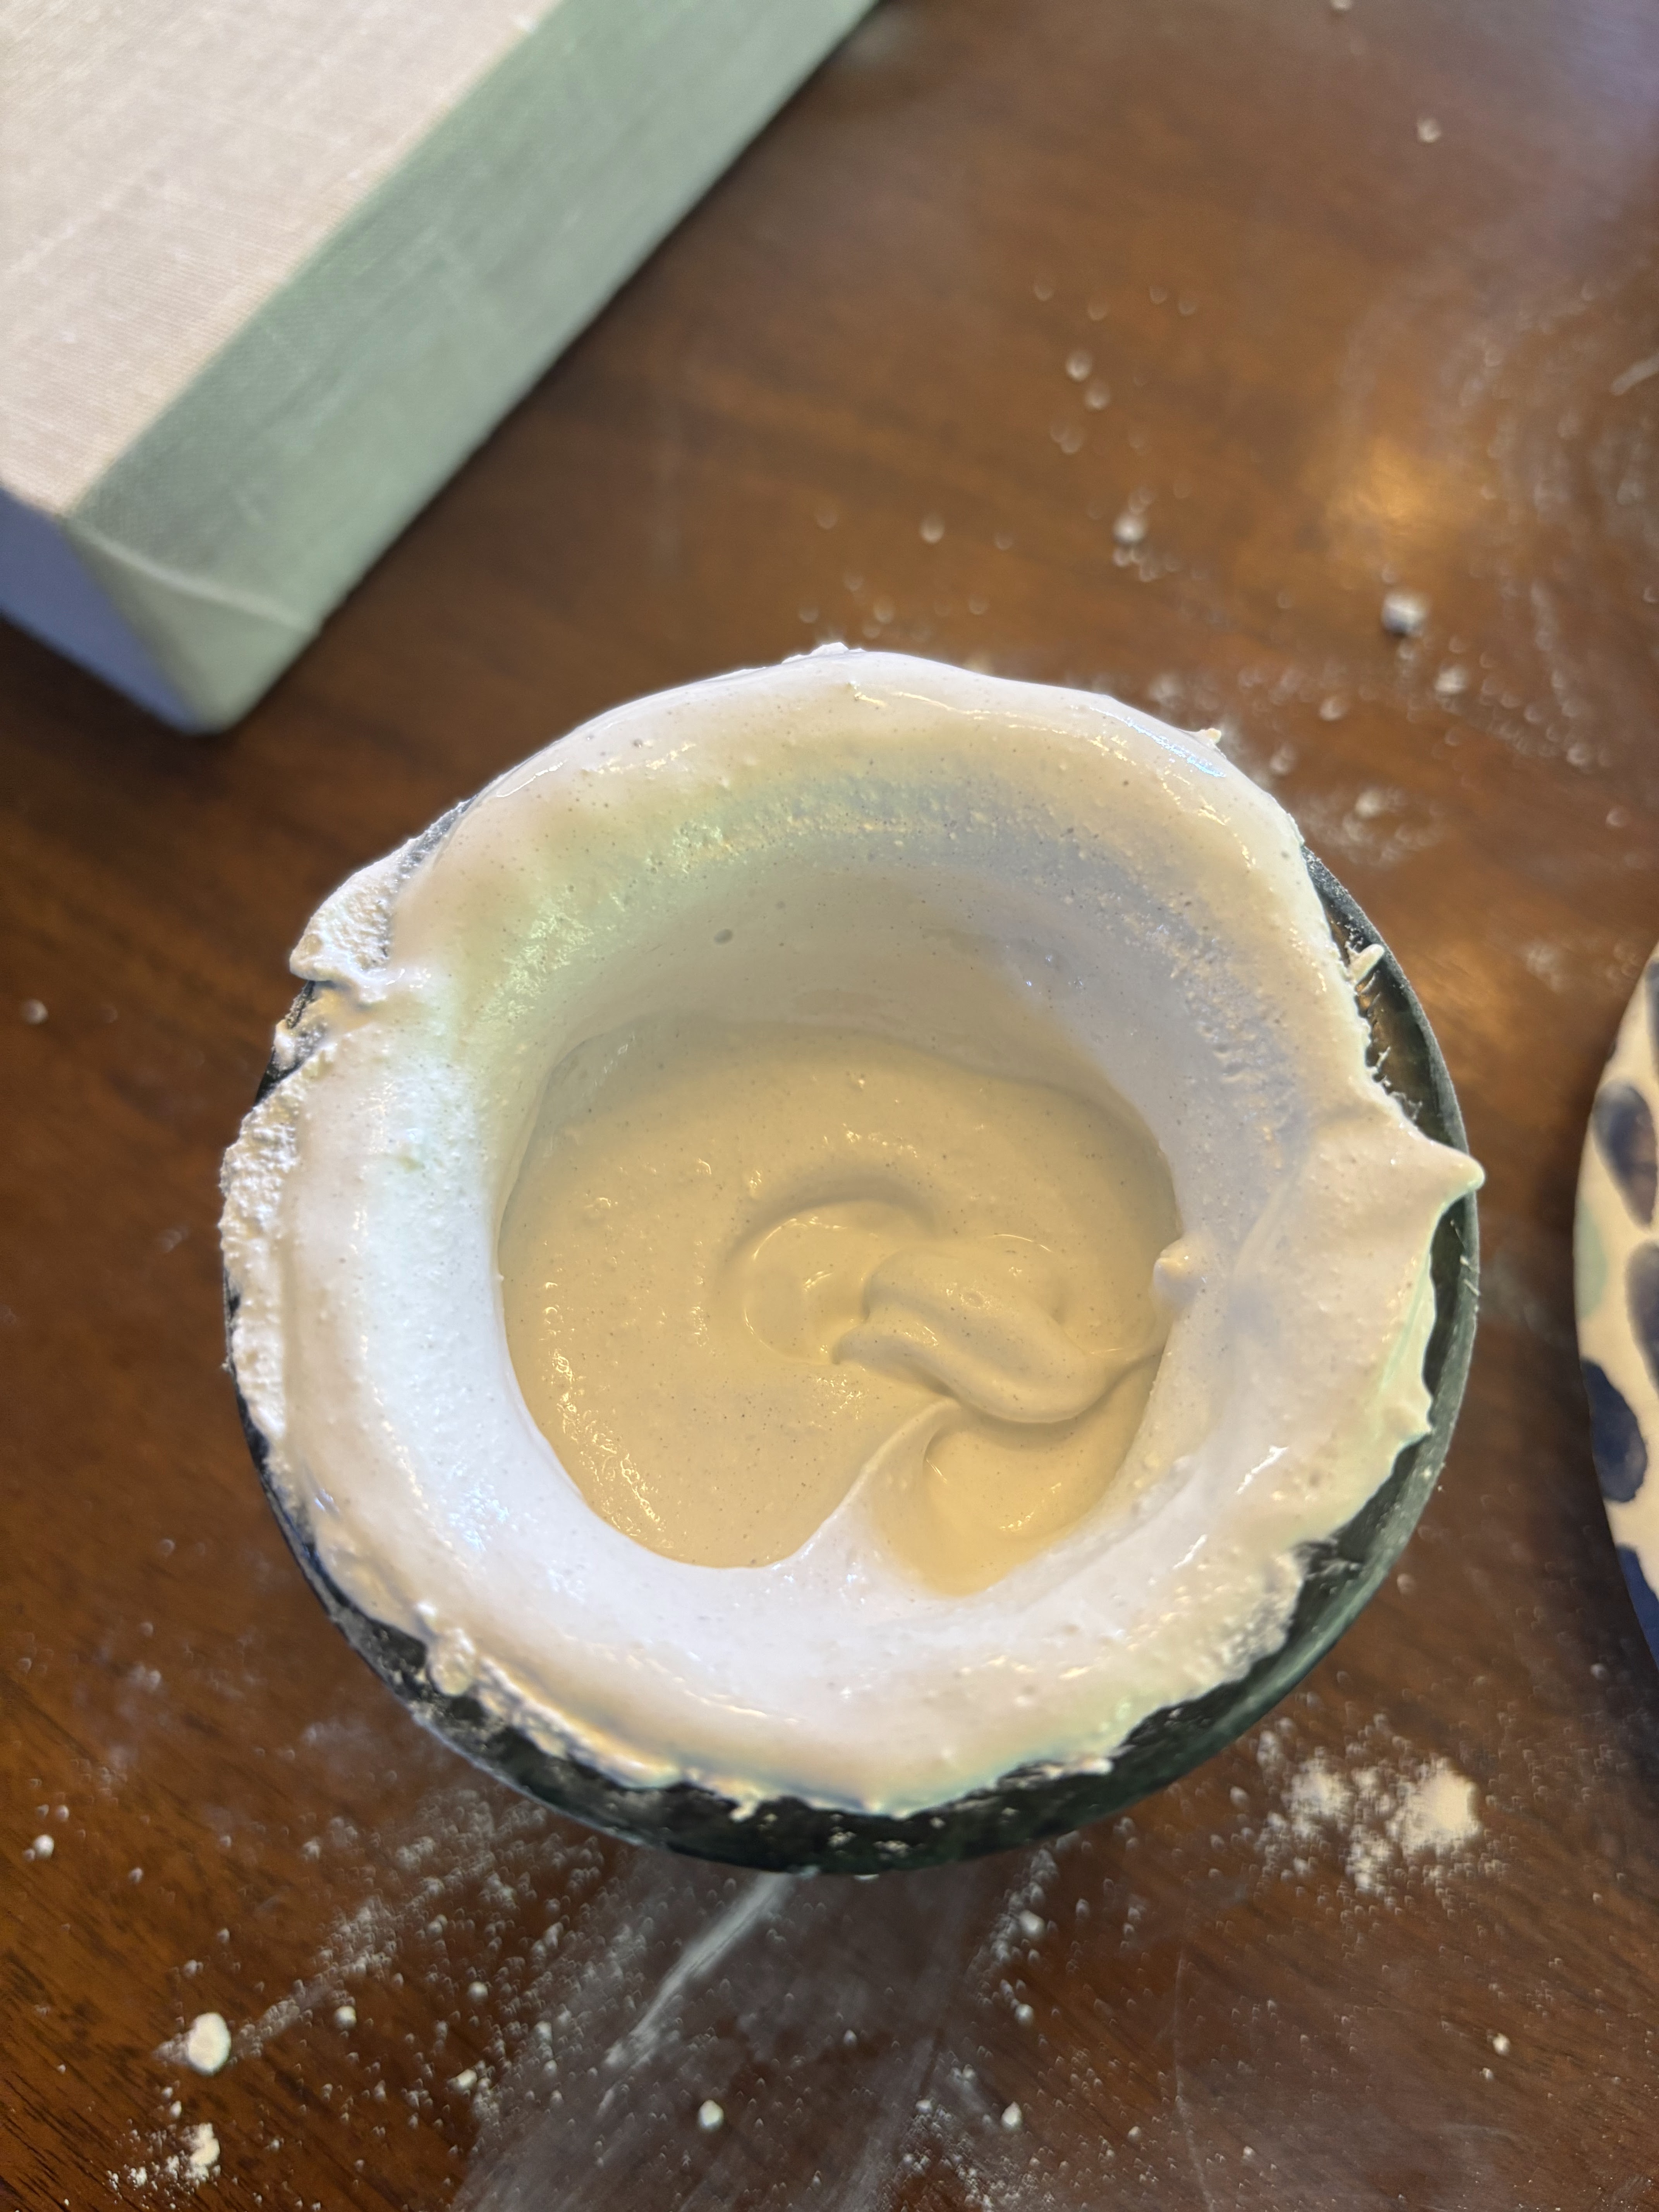
I cut a round for the base and then soaked two pieces of the bark, cut to size. I made up some hide glue from hide granules and mixed in a little sawdust to adhere the pieces together and banded with split willow tied with dandelion stems. All of these I foraged locally and compared to similar species that grow in Ireland. I made small holes along the top with an awl. Into this I tied twine that I made from dandelion stems. To make the butter itself, I made a makeshift churn from a jar and used a tvare to whisk the cream until the butter formed. This would have been wrapped, pressed, salted, and covered with linen as the find described by Frazier on page 584, but I chose to use waxed paper for food safety.

Tvare found at Lendbreen Pass, 11th C. (Pilø)
I've written about making tvare before, but I was so curious to see if it would work for this application. In 2011, archeologists uncovered a treasure trove of Viking era artifacts at Lendbreen Pass in Norway just north of Oslo. Among a dog collar and leash and a wooden ski was the remnants of another quite familiar object: a whisk. Called tvare locally, this was made from the top of a coniferous tree where the whorls branch out at a single level. They can then be stripped of bark and trimmed to the desired length. It is uncertain whether they were then left loose in an umbrella fashion or wired back to the trunk to create our familiar shaped whisk. Either way, the tools was functional in much the same way. I've recently discovered that a nearly identical item was found from Fiave, Italy. Measuring 19 cm and dated to the early middle ages (Coles, Byron and John, p. 131-133).
The whisk spun so easily in my hands, though I did wrap the handle in a damp cloth to ease any abrasion. I whisked the slightly warmed cream intermittently while I made dinner that evening and soon enough clumps of butter formed! I estimate it took about the same amount of time as when I've used the shaken jar method in the past. I strained and washed the butter, adding a small amount of Celtic sea salt, then pressed it into my firkin. However, I am sadly lacking a peat bog, so was unable to infuse the boggy flavors to this batch.


Worked Cited
Burton, Holly The Arrival of the Celts in Ireland: Archaeology and Linguistics. Expedition Magazine, Vol. 21, No. 3. 1979. Date accessed 12-30-26 from https://www.penn.museum/sites/expedition/the-arrival-of-the-celts-in-ireland/ .
Cartwright, Mark. Death, Burial & the Afterlife in the Ancient Celtic Religion. World History Encyclopedia. March 2021. Date accessed 1-14-26 from https://www.worldhistory.org/article/1707/death-burial--the-afterlife-in-the-ancient-celtic/
Catling, Chris. Mounds and monasteries: burials in late Iron Age and early medieval Ireland. Current Archaeology, Issue 374. 2021. Date accessed 1-14-26 from https://the-past.com/feature/mounds-and-monasteries-burials-in-late-iron-age-and-early-medieval-ireland/
Coles, Byron and John People of the Wetlands: Bogs, Bodies, and Lake-Dwellers. Thames and Hudson. 1989.
Frazer, W. Bog Butter: Its History, with Observations. II. On a Dish of Wood Found in a Bog at Ballymoney. III. On a Primitive Wooden Milk Churn. Journal of the Royal Society of Antiquaries of Ireland, 5th series, Vol. 1, No. 7 (3rd Quarter, 1891), pp. 583-588. Date accessed 3-3-26 from https://www.jstor.org/stable/25507823
Gannon, M. Treasure Trove of Artifacts Illustrates Life in a Lost Viking Mountain Pass. Smithsonian, 2020. Date accessed5-22-23 from https://www.smithsonianmag.com/science-nature/lendbreen-norway-viking-mountain-pass-180974680/
Harney, Lorcan. Death and burial in Ireland's 'Cities of God': new insights into early medieval ecclesiastical burial practices in light of the emerging archaeological evidence. The Journal of the Royal Society of Antiquaries of Ireland. Vol 148. pp. 29-53. Royal Society of Antiquaries of Ireland. 2018.
O’Sullivan, Aidan and Nicholl, Tríona. Early medieval settlement enclosures in Ireland: dwellings, daily life and social identity. Royal Irish Academy. Vol. 111C, Special Issue: Domestic Life in Ireland. pp. 59-90. 2011.
O’Sullivan, Catherine Marie. Hospitality in Medieval Ireland 900-1500. Four Courts Press, Oregon. 2004.
Pilø, L. The Hunt for the Lost Mountain Pass Secrets of the Ice, 2020. Date accessed 5-22-23 from https://secretsoftheice.com/news/2020/04/16/mountain-pass/
Raftery, Joseph. A Bog Butter Vessel from near Tuam, Co. Galway. Journal of the Galway Archaeological and Historical Society Vol. 20, No. 1/2 (1942), pp. 31-38. Date accessed 3-3-26 from https://www.jstor.org/stable/25535221
Smyth, Jessica et al. Four millennia of dairy surplus and deposition revealed through compound-specific stable isotope analysis and radiocarbon dating of Irish bog butters. Scientific reports vol. 9,1 4559. 14 Mar. 2019.
Wood-Martin, William Gregory. The Lake Dwellings of Ireland: or, Ancient Lacustrine Habitaions of Erin, Commonly Called Crannogs. Dublin : Hodges, Figgis & co.,; [etc., etc.], 1886. Date accessed 1-14-26 from https://archive.org/details/lakedwellingsofi00woodiala/page/254/mode/2up


